

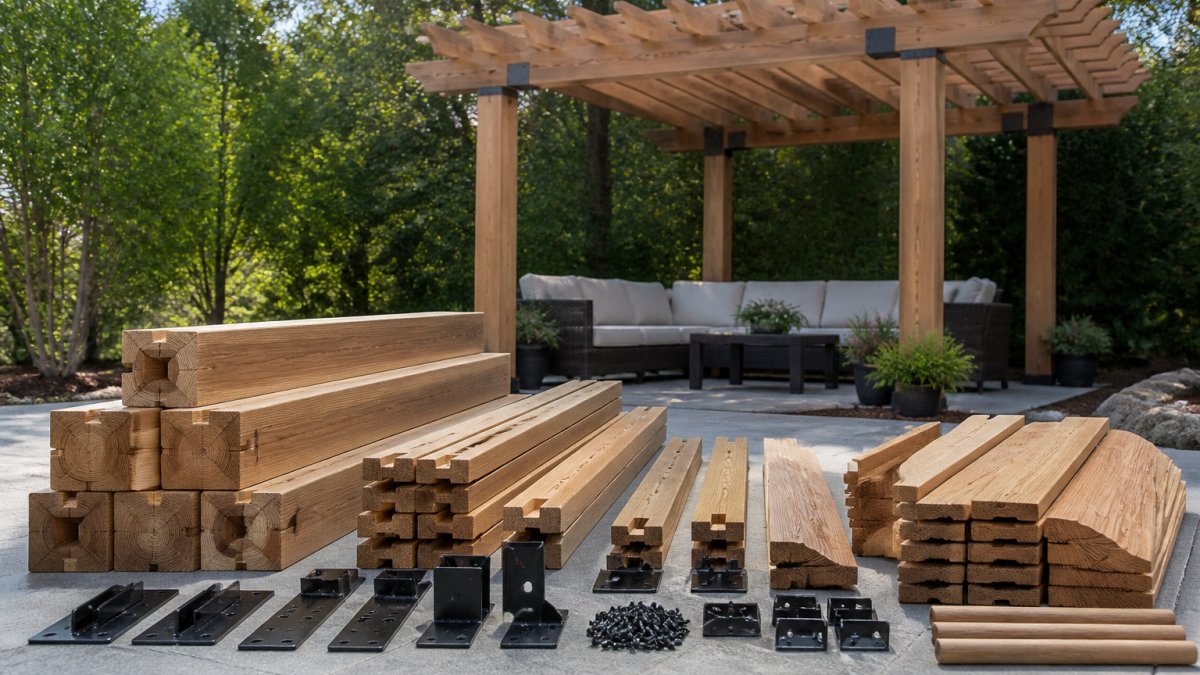
Table of Contents
- What to Look for in Pergola Kits for a Backyard Oasis
- Cedar Pergola Kits: Warm Looks and Long-Term Durability
- Custom Pergola Kits for Odd Yards and Tight Spaces
- Pergola Kit Sizes: Matching the Footprint to Your Patio
- DIY Pergola Kits: What Assembly Really Takes
- Wind, Snow, and Local Code: Picking a Kit That Lasts
- Total Cost, Warranty, and Replacement Parts
- Conclusion
- Frequently Asked Questions
Last Updated: October 18, 2026
What to Look for in Pergola Kits for a Backyard Oasis
The best pergola kits for a backyard oasis balance three things: material lifespan, roof style, and how the structure handles your local weather. We have helped homeowners and contractors plan these builds for years, and the same questions come up every time.
Below, we break down exactly how to choose one, from cedar versus aluminum to the wind and snow questions most buying guides skip.
Match the kit to your climate first, then to your style. A beautiful cedar pergola that fails a snow load is a costly mistake, and an aluminum frame that fights your home’s architecture is a daily annoyance.
Materials: Cedar, Aluminum, and Steel Compared
Cedar wins on warmth and long-term durability; aluminum wins on low maintenance. Cedar naturally resists rot and insects, and it takes stain well, which is why it suits a natural wood aesthetic. Aluminum frames with a powder-coated finish resist corrosion and never need refinishing, though they can feel hot in direct sun. Steel brackets tie the structure together and carry the load where posts meet beams.
| Material | Best For | Maintenance | Watch Out For |
|---|---|---|---|
| Cedar | Natural look, long life | Re-stain every few years | Cost and weight |
| Aluminum | Low maintenance, humid climates | Wipe down | Heat retention, less warmth |
| Steel hardware | Structural connections | Inspect for rust | Must be galvanized or coated |
Roof Styles and Shade Coverage
Roof style decides how much shade you actually get. Open-rafter pergolas give dappled light and airflow, louvered roofs let you adjust slats for sun or shade, and retractable canopies add UV protection on demand. Think about when you use the space: a west-facing patio needs afternoon shade, while a covered outdoor cooking area may want full morning sun. Shade coverage is the single most overlooked spec in pergola kits, and it changes how the outdoor room feels at 3 p.m. versus 7 p.m.
Cedar Pergola Kits: Warm Looks and Long-Term Durability
Cedar pergola kits remain the classic choice for a backyard oasis because the wood ages gracefully and holds stain far better than pine. The natural oils in cedar resist moisture and insects, so a well-built cedar structure can last for decades with basic care.
The trade-off is honest: cedar costs more upfront and needs re-staining every few years. If you want a natural wood aesthetic and don’t mind light upkeep, nothing else looks quite the same.
Custom Pergola Kits for Odd Yards and Tight Spaces
Custom pergola kits solve the oddly shaped backyard problem that off-the-shelf sizes can’t. If your patio has a weird corner, a slope, or a tight side yard, a stock kit forces you to modify everything on site, which defeats the point of pre-cut pieces. Our custom-cut approach lets you specify dimensions, post placement, and profile ends so the frame fits your footprint from the first cut.
Here’s how we would plan a custom build:
- Measure the usable patio area, not the whole yard
- Note slopes, drains, and any structure the pergola must clear
- Decide post spacing based on beam span and shade goals
- Choose attachments that match your surface (concrete, deck, or pavers)
- Confirm clearance for doors, steps, and traffic flow
Measure at multiple points, not just one. Patios are rarely perfectly square, and a footprint that’s off by a couple of inches can throw off every post anchor.
Pergola Kit Sizes: Matching the Footprint to Your Patio
Pergola kit sizes should leave breathing room around the structure, not fill every inch. A common mistake is ordering a kit that matches the patio exactly, leaving no space for furniture, walkways, or planting beds.
Post size matters too. Larger posts carry longer spans and feel more substantial, while slimmer posts suit smaller patios. Check the dimensions against your furniture layout before you order, and confirm the clearance height so nobody ducks under a beam.
DIY Pergola Kits: What Assembly Really Takes
DIY pergola kits are genuinely buildable for a confident homeowner, but the honest answer to “how hard is it?” depends on three variables: the surface you’re anchoring to, the span of the kit, and how many capable adults you can put on the job. Pre-cut pieces remove the cutting and guesswork, yet the frame still depends on square, level footings, and that’s where most projects go sideways.
Realistic labor by kit type
A common pattern among installers and experienced DIYers is that a simple 10 ft. x 10 ft. cedar or aluminum kit on a flat concrete slab takes two people roughly one full weekend day to set posts, brace, and attach beams and rafters. A larger 12 ft. x 16 ft. kit with a louvered roof or a freestanding configuration typically runs two to three people across two days, because the roof panels or louver hardware add a second phase of work.
Use these as planning ranges, not guarantees, your slope, soil, and surface will move the number.
| Kit type | Crew size | Realistic time | Skill level |
|---|---|---|---|
| 10×10 cedar on concrete | 2 adults | 1 weekend day | Confident DIYer |
| 12×16 aluminum with louvered roof | 2-3 adults | 2 days | Confident DIYer |
| Custom-cut kit, odd footprint | 2-3 adults | 2-3 days | Intermediate |
| Any kit on sloped or paver surface | 2-3 adults | Add 1 day | Intermediate to pro |
Tools and materials to have on hand
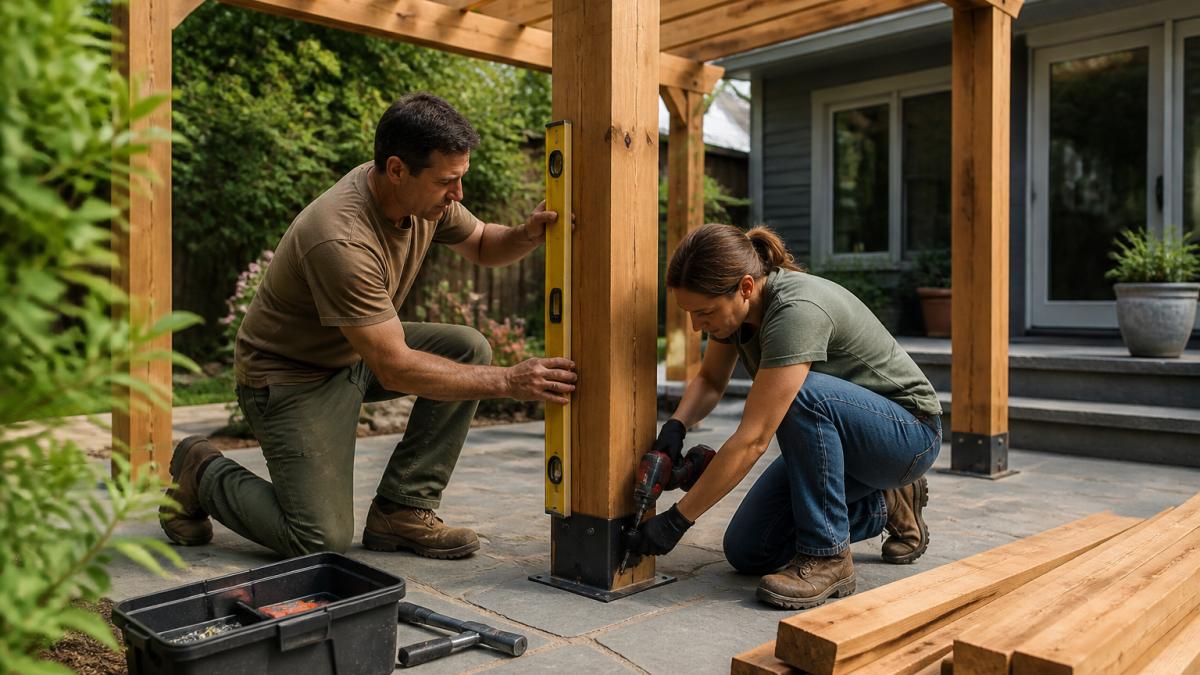
Plan on a post-hole digger or auger for in-ground footings, a rotary hammer and concrete anchors for slab mounting, a 4 ft. spirit level (a 2 ft. level is not enough for post work), a speed square, a cordless drill and impact driver, sawhorses, and a ladder tall enough to reach the top beam safely. Add temporary bracing lumber, 2x4s and clamps, because bracing is not optional.
The sequence that works
- Lay out the footprint and confirm square by measuring diagonals, they should match within 1/4 in.
- Set and level the posts first, then brace them temporarily in both directions.
- Attach beams and check level again before tightening hardware.
- Install rafters and any roof or louver components last.
- Remove bracing only after the frame is fully connected.
When to hire a professional
Hire a pro when the kit mounts on a sloped surface, when the footprint requires cutting into pavers or a deck, when local code requires engineered anchoring or an inspection, or when the kit exceeds about 12 ft. in either dimension and you cannot safely lift beams with your available crew.
The thing nobody tells you about DIY pergola kits is that hardware quality decides how smooth assembly goes. Cheap brackets warp and strip; heavy-duty steel brackets from trusted brands hold true.
Skipping temporary bracing while you set posts is the most common cause of a wonky frame. Brace every post before you attach a single beam, or you’ll fight the structure the rest of the day.
Wind, Snow, and Local Code: Picking a Kit That Lasts
Wind and snow loads decide whether a kit lasts one season or twenty, and this is the section most buying guides skip. Wind resistance depends on anchoring, post spacing, and the connections between posts and beams; snow load depends on rafter span, material strength, and roof style. Before you buy, check your local building department for permit requirements and design loads, because rules vary by jurisdiction and by the structure’s size and attachment method.
How loads are actually evaluated
The International Code Council’s building code resources outline how structures are evaluated for wind and snow loads, and most U.S. jurisdictions adopt a version of the International Residential Code or International Building Code. In practice, a building department will ask for the design wind speed and ground snow load for your address, the anchoring method, and sometimes a stamped engineering letter for larger or roofed structures.
Anchoring by surface
Anchoring is the detail most kits gloss over, and it is the single biggest driver of wind performance.
| Surface | Typical anchoring method | Watch out for |
|---|---|---|
| Concrete slab | Wedge anchors or adhesive anchors into the slab | Slab thickness and edge distance; thin or cracked slabs need engineering review |
| Wood deck | Through-bolts or lag screws into joists, not just decking | Must land on framing, not boards |
| Pavers | Pull out pavers, set posts in concrete footings below frost line, then re-lay | Frost depth varies widely by region |
| Dirt or gravel | Concrete footings sized to local frost depth and load | Inspections often required before backfill |
A pergola on a windy, exposed lot needs deeper footings and stronger connections than one tucked behind a fence. Coastal and humid areas add corrosion to the list, because salt and moisture attack lesser metals, specify galvanized or coated hardware and stainless fasteners where appropriate.
Permit and code checklist
- Call your local building department before ordering and ask whether a permit is required for your size and attachment method.
- Ask what design wind speed and ground snow load apply to your address.
- Confirm whether the department requires a site plan, anchoring details, or an engineer’s stamp.
- Ask about setback requirements from property lines and easements.
- Confirm inspection stages, footing inspection before concrete, final inspection after assembly.
- Keep the manufacturer’s load documentation and installation instructions on file for the inspector.
Ask the building department for the permit application and submittal checklist in writing before you buy. Requirements that surface after delivery are the most expensive kind.
Questions to ask before you commit
Ask specifically about wind and snow ratings before you commit, and confirm the hardware is rated for outdoor exposure. Ask whether the rating assumes a particular footing depth or anchor type, and whether the manufacturer provides engineering documentation for permit submittals. A kit that cannot answer those questions is a kit that may not pass inspection, or may not survive the first heavy snow.
Total Cost, Warranty, and Replacement Parts
Total cost means more than the kit price. Factor in footings, concrete, stain or finish, hardware upgrades, and freight, because shipping a heavy lumber package is a real line item.
Warranty and replacement parts are the long game. Ask what the warranty covers, how long it runs, and whether individual posts, brackets, or rafter tails can be reordered years later.
Conclusion
Choosing among the best pergola kits for a backyard oasis comes down to matching material, roof style, and size to your climate and how you actually use the space.
At Pergola World, we make that easier with custom-cut cedar and Douglas fir, pre-stained options, and hardware from trusted brands like Simpson Strong-Tie and OZCO. Our design consultations help you plan a structure that fits your yard and stands up to the weather.
Frequently Asked Questions
Are wood or metal pergola kits better for a backyard oasis?
It depends on the look and climate you want. Cedar pergola kits give a natural wood aesthetic and insulate against heat, but need periodic sealing to hold up. Aluminum frames with a powder-coated finish resist corrosion and need almost no maintenance, which suits coastal or high-humidity areas. Steel brackets add strength to either. For a relaxing outdoor room with a warm feel, cedar is the common pick; for low maintenance, aluminum wins.
What size pergola kit do I need for my patio?
Measure your patio footprint first, then leave at least 2 feet of clearance around the posts for walkways and furniture. Common pergola kit sizes run from 8×8 feet for a small seating nook up to 12×16 feet or larger for an outdoor cooking and dining area. Check post size and beam height too: 8-foot clearance suits most people, and taller posts give more headroom under a louvered or retractable roof.
Can you customize a pergola kit for an oddly shaped yard?
Yes. Custom pergola kits are cut to your dimensions, so an L-shaped patio or a tight corner does not force you to modify standard pieces on site. Share exact measurements, post spacing, and any obstructions like downspouts or utilities. Pre-cut profile ends and pre-stained lumber speed assembly and reduce cutting errors. Confirm the kit includes anchoring hardware rated for your surface, whether that is a concrete slab or deck.
How much do pergola kits cost, and what drives the price?
Pricing depends on size, material, cut options, and delivery, so get a quote for your exact footprint rather than relying on a generic figure. Cedar usually costs more than treated pine, and custom cuts, pre-stained lumber, and freight add to the total. Factor in anchoring hardware, a foundation or footings, and any permit fees. Ask for a like-for-like quote that lists lumber, brackets, and shipping separately so you can compare fairly.
