

Last Updated: October 28, 2026
Quick Summary
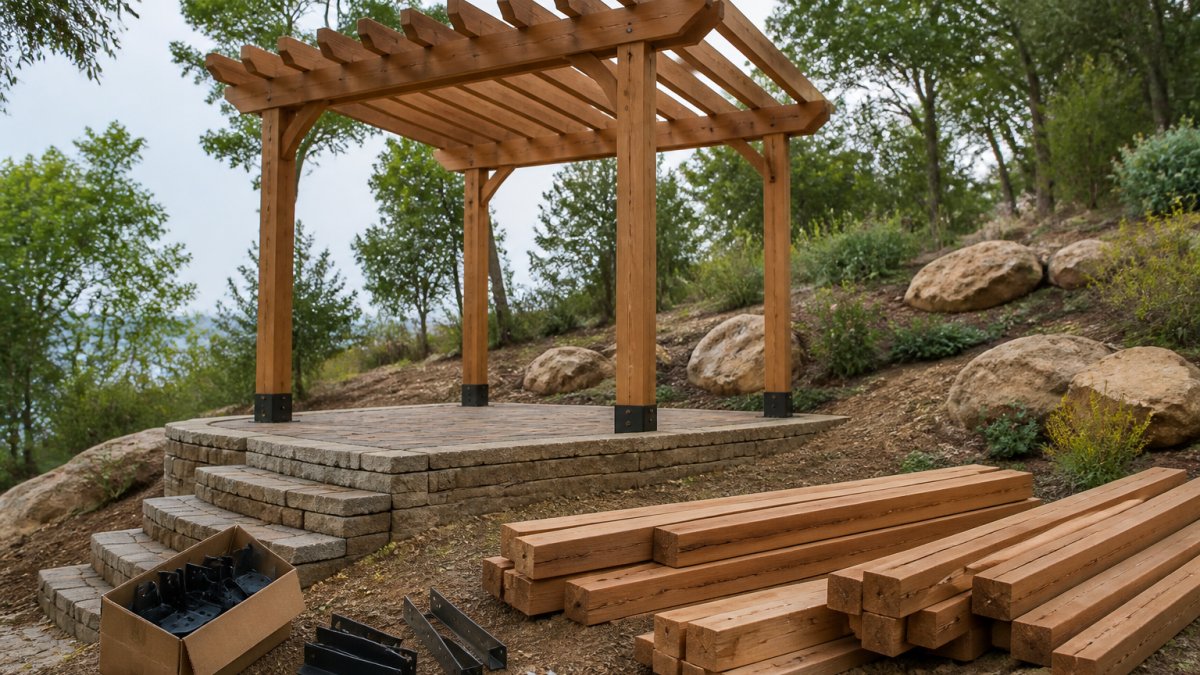
Pergola kits for uneven ground work best with adjustable standoff post bases set on stepped concrete footings, so you can raise or lower each post to one level plane without cutting lumber. Measure the drop at all four corners first, then set every post top to a single reference plane.
- Measure the drop at all four corners, not just low side to high side, since a footprint can twist diagonally.
- Most sloped-site builds should start with adjustable standoff post bases on stepped concrete footings.
- Measure post height from one level reference plane down, not from the dirt up.
- Brace in both directions, front-to-back and side-to-side, because a frame braced on one axis still racks.
- Call 811 before digging any footing to have underground lines marked, which is free.
Table of Contents
- Why Pergola Kits for Uneven Ground Need a Different Plan
- How to Measure Slope for a Pergola Before You Buy
- Pergola Footings on a Slope: Concrete, Deck Blocks, or Adjustable Bases
- How to Level a Pergola on a Slope Without Cutting Posts Short
- Pergola Post Height on Uneven Ground: Getting Every Post Right
- Picking Pergola Kits for Uneven Ground: What to Look For
- Wind, Stability, and Safety on a Sloped Site
- Order a Custom-Cut Kit for Your Sloped Backyard
- Frequently Asked Questions
Why Pergola Kits for Uneven Ground Need a Different Plan
A pergola kit built for flat ground assumes level posts on level footings. According to Thumbtack’s pergola cost guide, most customers pay about $2,004 for pergola construction, with a national range of roughly $1,463 to $7,994.
At Pergola World, we offer custom-cut cedar and Douglas fir solutions. The frame is the easy part. The ground is where projects fail.
Slope is a structural consideration. Below are seven steps from raw grade reading to a finished, plumb frame.
How to Measure Slope for a Pergola Before You Buy
Measuring slope means finding the vertical drop across your footprint in inches per foot. That number decides your footing type, post strategy, and whether you need a custom kit at all.
Tools That Give You a Real Grade Reading
Skip the eyeball test. You need numbers:
- A 4-foot spirit level with a ruler taped to one end, which gives you drop over 4 feet
- A line level and string for longer runs across the full footprint
- A laser level if you want a single reference plane for every post
Measure the drop at all four corners, not just low side to high side, a footprint can look uniform and still twist diagonally.
Reading Your Numbers: Gentle Grade vs. Too Steep
Pergola Depot’s installation guidance cautions that if a slope is too steep, the area may need to be leveled before construction begins. The source gives no exact threshold, so use your own judgment: if the fall exceeds what your post bases can absorb, level first.
Pergola Footings on a Slope: Concrete, Deck Blocks, or Adjustable Bases
Footings on a slope come down to three viable options, and the right pick depends on your soil, frost depth, and how much fall you are correcting. The table is the short version; the notes decide the job.
| Footing Type | Best For | Slope Tolerance | Effort | Typical Material Cost per Footing |
|---|---|---|---|---|
| Poured concrete footing | Stable soil, permanent builds, high wind | Low to moderate | High | $25-$60 in bagged mix and form lumber |
| Deck block (precast pier) | Flat to gentle grade, removable builds, renters | Low | Low | $8-$20 each |
| Adjustable standoff post base on a stepped footing | Moderate fall, no-cut installs | Moderate to high | Medium | $15-$40 per base plus footing |
| Ground screw / helical anchor | Sandy or loamy soil, fast installs, removable | Low to moderate | Medium | $30-$80 per anchor |
| Paver pad or surface-mounted base on a slab | Existing concrete, patios, rocky ground | Low | Low to medium | $5-$15 per pad |
How Each Footing Handles Slope
Poured concrete. Dig a hole at each corner, set a form, and pour to a common elevation, uphill holes shallower, downhill deeper, so tops land on one plane. For the full process, read our guide to installing a pergola on concrete.
Deck blocks. A precast pier sits on the surface or a shallow gravel bed and carries a post bracket.
Ground screws and helical anchors. A steel screw is driven into the soil and the post bracket bolts to the head.
Pavers and surface-mounted bases. On an existing concrete slab or compacted paver pad, a surface-mounted base anchors with wedge or sleeve anchors.
Matching the Footing to Your Soil
Sandy soil drains fast but shifts under load, so go deeper with concrete or use a ground screw with a wide helix. Clay holds water and heaves in freeze-thaw, arguing for a wider footing base below local frost depth. Rocky ground may push you toward surface-mounted bases or a ground screw if you find a seam. Dig one test hole at the lowest corner before buying anything: what you find tells you more than any soil map.
Frost Depth, Drainage, and the Checks Competitors Skip
Two site conditions to consider for sloped-site pergolas are frost heave and poor drainage.
- Frost depth. In cold-winter regions, a footing above the local frost line can be lifted by expanding soil. Your building department publishes a frost depth figure; a footing extending below it is far less likely to heave. With deck blocks or surface bases in a cold climate, expect seasonal movement and plan to re-level.
- Drainage. On a slope, water runs to the low corner, where soil softens and footings settle. Grade so water sheds away from every footing, and consider a shallow gravel bed under deck blocks or pavers.
- Utilities. Before you dig any footing, call 811 (the national call-before-you-dig line) and have underground lines marked. This is free.
If your site drops more than about 6 inches across the footprint, or if the soil is fill, expansive clay, or near a retaining wall, have a local engineer or contractor review the footing plan. The cost of a site visit is small next to a frame that settles or lifts.
How to Level a Pergola on a Slope Without Cutting Posts Short
Leveling a pergola on a slope works by adjusting the post base, not the post. For the full sequence, see our step-by-step leveling guide.
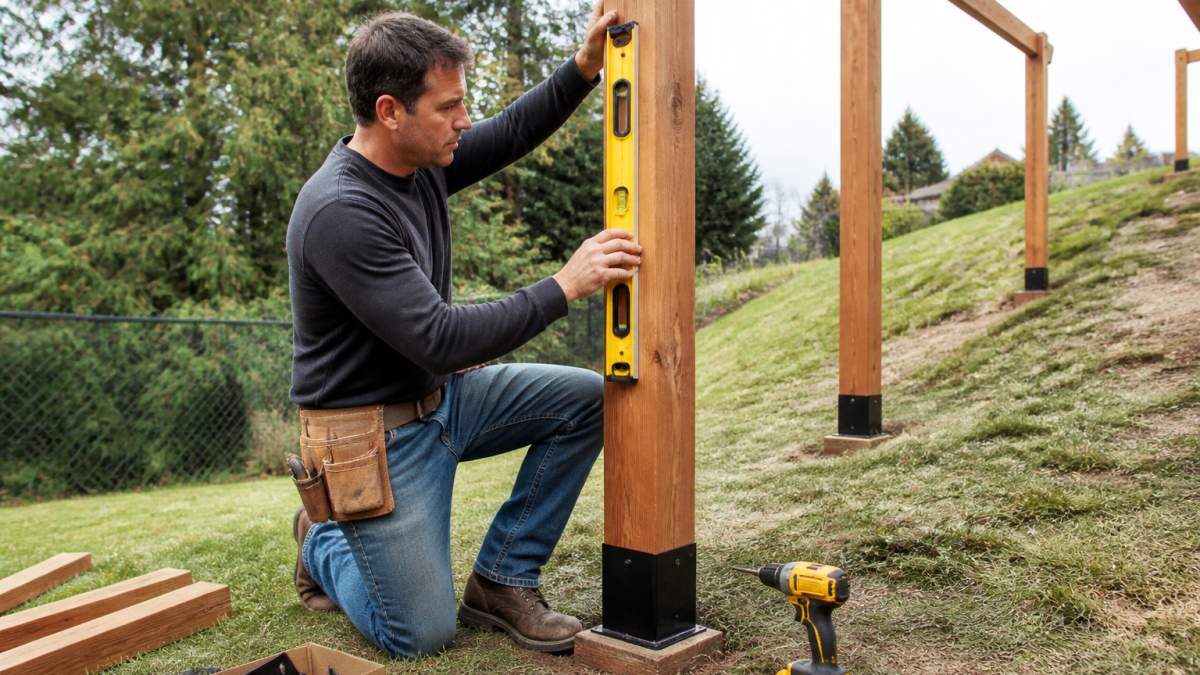
The sequence that works:
- Set all four posts in their bases, finger-tight.
- Run a string line or laser across the tops and mark the target plane.
- Raise the low posts with shims or threaded adjusters until every top hits the plane.
- Check plumb on two faces of each post, then torque the hardware.
Pergola Post Height on Uneven Ground: Getting Every Post Right
Post height on uneven ground is measured from the top plane down, not the dirt up. Establish one level reference plane, then cut or set every post to reach it.
This is the mental shift most DIYers miss: measure each post from its own patch of ground and you get four heights and a sloping frame. Measure from the plane instead, and posts can differ in exposed length while the frame stays true.
Adjustable bases do the work: set the plane, raise each post to meet it, and lock it. No saw required, no wasted lumber.
Picking Pergola Kits for Uneven Ground: What to Look For
The best pergola kits for uneven ground include adjustable post bases, bracket options for different layouts, and hardware rated for outdoor exposure. Zen Pergolas’ bracket guide describes 4×4 and 6×6 bracket options alongside free-standing, wall-mounted, and corner layouts, which gives you flexibility before you ever dig.
Your checklist before ordering:
- Adjustable or standoff post bases included or available
- Post bracket sizes that match your lumber dimensions
- Layout options for free-standing, attached, or corner builds
Hardware and Materials That Survive the Weather
Cedar naturally resists rot and insects.
We offer a wide selection of hardware from leading brands like Simpson Strong-Tie and OZCO.
Wind, Stability, and Safety on a Sloped Site
Wind and stability are considerations for a pergola on a sloped site. Footings and bracing should be considered in planning.
The Three Loads That Matter
- Uplift. Wind moving over and under the frame creates upward pressure. A footing that only resists downward weight can be pulled out of the ground. This is why embedded concrete footings and rated post bases matter more on an exposed slope than on a sheltered flat patio.
- Racking (lateral load). A slope lets wind push against the frame from an angle, and a rectangular frame with no diagonal support will parallelogram over time. Racking is the most common failure mode on sloped ground.
- Overturning. A tall, lightly anchored frame can tip. The taller the posts and the more open the site, the greater the risk.
Anchoring: Resisting Uplift, Not Just Weight
Anchoring depth is the first defense: a concrete footing below frost depth with an embedded, rated post base resists uplift far better than a surface block. With adjustable standoff bases, confirm the base is rated for uplift and the anchors are sized for the load. Compare the manufacturer’s published allowable load to the tributary area each post carries, footprint divided by post count, plus a gust margin.
Bracing: The Layout That Stops Racking
Diagonal bracing is what turns four posts into a rigid frame. Two practical approaches:
- Corner knee braces. A 45-degree brace from post to beam at each corner stiffens the frame in both directions. This is the most common kit solution and the easiest to add after the fact.
- Lateral stabilizer straps or cross-bracing. A strap or cable run diagonally across the top or along the posts ties the frame together and resists racking directly. On an exposed, windy slope, this is the single most effective upgrade.
Brace in both directions, front-to-back and side-to-side. A frame braced on only one axis still racks on the other.
Connections: Rated Connectors, Not Toenails
Post-to-beam connections carry roof load into the posts. Toenails and screws pull out under cyclic wind loading; rated metal connectors, post caps, beam hangers, base plates, are tested for the load. Use hot-dip galvanized or stainless connectors in coastal or humid areas, match fasteners to the manufacturer’s spec, and avoid mixing dissimilar metals, which accelerates corrosion.
When to Call a Professional or Engineer
Some sites need more than a kit and a level. Call a local engineer or licensed contractor if any of the following apply:
- The site is exposed to open wind (hilltop, waterfront, open field) with no nearby windbreak.
- The frame is tall (roughly over 10 feet) or carries a solid roof rather than open slats.
- The soil is fill, expansive clay, or near a retaining wall or slope failure.
Order a Custom-Cut Kit for Your Sloped Backyard
Pergola World offers custom-cut solutions, pre-cut profiles, and pre-stained lumber.
Arrow Outdoor Living’s cost guide puts professionally installed pergolas at roughly $2,100 to $6,400, averaging about $4,200. A DIY kit cuts that labor cost, and a custom-cut kit cuts the assembly time.
Before you order, understand how kit pricing is calculated. Our guide on how to calculate pergola kit costs breaks down what drives the number.
Frequently Asked Questions
Can you install pergola kits for uneven ground without leveling the yard first?
Whether a pergola can be installed without leveling the yard depends on the site. Measure the grade and consult a qualified professional about the appropriate approach.
Do pergola posts need to be the same height on sloped ground?
The visible post height above the ground line may differ, while the tops should land on the same level plane. That means the post on the low side may be longer overall. Consult a qualified professional about the appropriate post lengths and installation for your site.
What is the best foundation for a pergola on uneven ground?
The appropriate foundation depends on site conditions and local requirements. Check with your local building department before digging, and call 811 to mark utilities.
How do you measure slope before ordering a pergola kit?
Drive two stakes at the planned post locations, tie a string between them, and set a line level on the string. Measure from the string down to the ground at each stake; the difference is your fall over that distance. A 4-inch drop over 8 feet is a 4 percent grade. Record the reading at all four corners.
Your slope is not a dealbreaker. It is a measurement problem, and measurement problems have solutions. Pergola World builds custom-cut cedar and Douglas fir kits with pre-cut profile ends, pre-stained lumber options, and hardware from Simpson Strong-Tie and OZCO, plus design consultations to match the kit to your site. Get started with Pergola World and build a frame that stays plumb for decades.

