

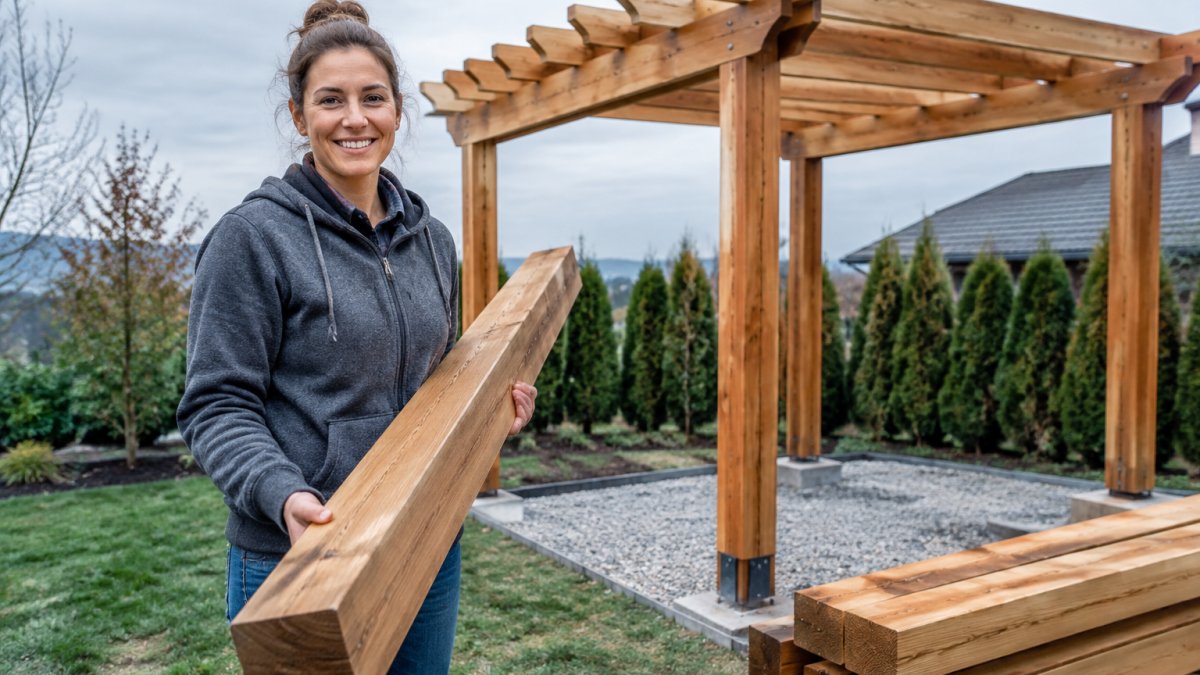
Last Updated: November 5, 2026
Quick Summary
Custom pergola kits are built to your exact footprint, so odd dimensions are not a problem as long as your structure stays conventional: four posts, a rectangular or near-rectangular frame, and a standard roof style. You measure post center to post center, triangulate every corner, and record elevation change, then a fabricator cuts the timbers to those numbers. Only unusual geometry or structural demands that no available configuration can meet call for a full custom build.
- Common kit sizes can leave support posts in awkward spots, so post placement matters more than span.
- Measure post center to post center on every span, recording longest and shortest distances where edges run out of parallel.
- Measure both diagonals at each corner: matching diagonals mean square, a mismatch means a trapezoid or rhombus.
- Capture elevation change at each post with a string line or laser level, since slope affects post length and footing depth.
- Verify the fabrication drawing and cut list against your field measurements before you approve them, because cut timbers are not returnable.
Table of Contents
- Why Standard Pergola Sizes Fail Odd Dimensions
- How to Measure for a Pergola Kit in an Irregular Space
- Shapes That Custom Pergola Kits Can Handle
- Custom Pergola Kits With Roof Options for Tight Spaces
- Pergola Kits Attached to House Walls: What Changes
- Custom Pergola Kit Cost: What Drives the Price
- How to Order and Verify a Custom Kit Before It Ships
- Get a Free Estimate for Your Odd-Space Pergola
- Frequently Asked Questions
Why Standard Pergola Sizes Fail Odd Dimensions
A custom pergola kit is a pre-cut timber package built to your exact footprint, rather than a fixed catalog size like 10 × 10 or 12 × 12 feet.
The hidden problem with fixed kit footprints is post placement, not span. Innov8 Outdoors’ comparison of DIY kits and custom pergolas notes that common kit sizes can leave support posts sitting in awkward locations, right where you wanted to walk, plant, or set a table.
The kit isn’t wrong, the footprint is. Once you accept that, the decision gets simpler.
When a Custom Kit Beats a Custom Build
A custom kit wins when your space is unusual but your structure is conventional: four posts, a rectangular or near-rectangular frame, a standard roof style. You get pre-cut lumber, matched hardware, and a plan, without paying a framer to figure it out on site.
A full custom build makes more sense when geometry or structural demands fall outside what any kit can supply. Sunset Pergola Kits’ guide to freestanding kits versus custom builds recommends going custom-built when unusual geometry or structural requirements can’t be met by available configurations.
How to Measure for a Pergola Kit in an Irregular Space
Measuring for a pergola kit means recording the longest and shortest span on each side, every corner angle, the height of anything the structure must clear, and the elevation change across the footprint, the numbers a fabricator needs to cut timbers that meet at the right angle and sit level on ground that probably isn’t.
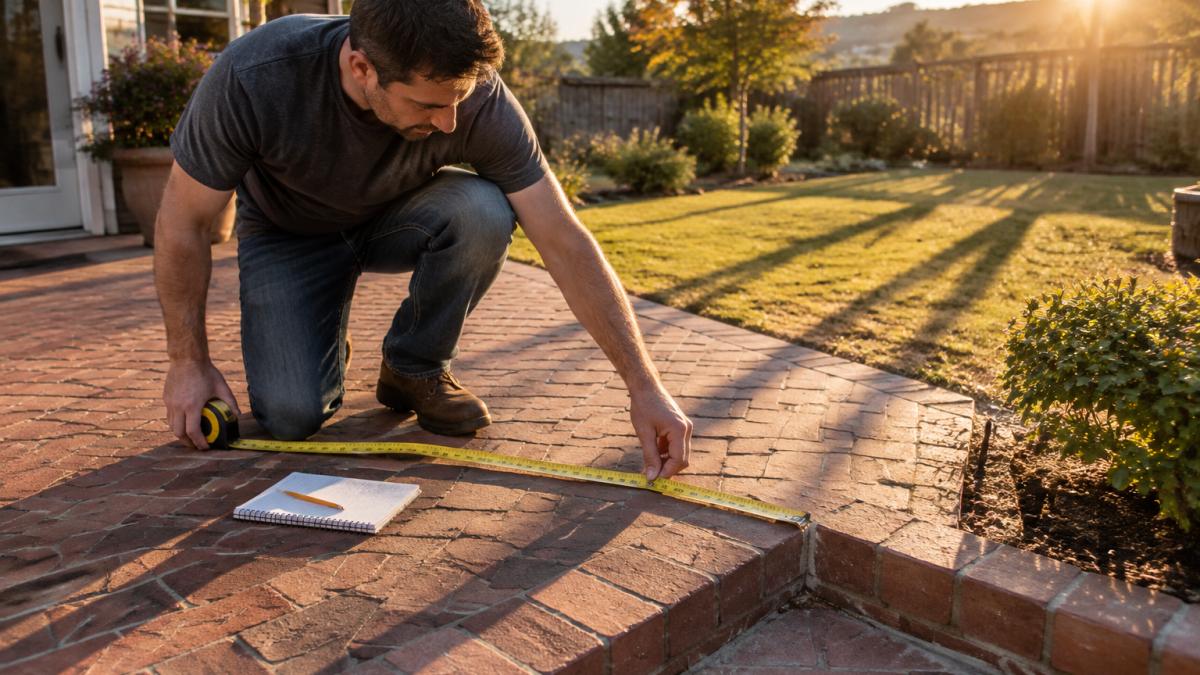
A Repeatable Measuring Workflow for Awkward Corners and Angles
A single tape reading tells you distance but not shape. Work in this order and you’ll catch problems before they cost you a re-cut:
- Establish a baseline. Pick the longest straight edge, a house wall, fence line, or patio edge, and record every other measurement relative to it.
- Mark post centers first. Use stakes or chalk. Post position matters more than the roof’s outer edge, and kits are cut to centerline dimensions.
- Measure post center to post center, not edge to edge, on every span. Record the longest and shortest distance on each side if the edge runs out of parallel.
- Triangulate every corner. Measure both diagonals. If they match, the layout is square; if not, you have a trapezoid or rhombus, and the fabricator needs both diagonals plus side lengths to reproduce the angle.
- Record corner angles where you can. A digital angle finder gives the fabricator a check against the triangulated dimensions; where you can’t measure directly, the three sides of each triangle are enough to calculate it.
- Capture elevation change. Set a string line or laser level across the post locations and measure how far each corner sits above or below the reference. Slope affects post length and footing depth, and a kit cut to a flat assumption will leave one corner short.
- Note obstructions and clearances: downspouts, hose bibs, window sills, fence lines, gates, utility boxes, and overhead branches. Measure the height of anything the roof or beams must clear.
- Photograph every corner with the tape visible, plus one wide photo of the whole space from each direction.
A common mistake is measuring the patio slab instead of the post layout. Slabs are rarely square, and a kit built to a crooked slab will fight you during assembly.
Watch out: if your space includes a corner that is not 90 degrees, do not round it to 90 in your notes. A two- or three-degree error over a twelve-foot span moves the post several inches, and that’s enough to miss a footing or crowd a walkway.
Turning Measurements Into a Buildable Plan
Turn your post-center dimensions, diagonals, angles, and elevation readings into a simple plan view: a top-down sketch with every post numbered, every span labeled, and every diagonal noted.
Draw it to scale on graph paper, or use a free sketch tool, and mark the following on the drawing:
- Post locations and centerlines, numbered P1 through P4 (or more for L-shapes and polygons).
- Every span between posts, with longest and shortest dimensions where edges run out of parallel.
- Both diagonals, so the fabricator can verify the shape independently of the angles.
Then check the timber. For a serious span, look at the actual 6″ x 6″ Western Red Cedar timbers so your plan matches real material.
Send that sketch with your measurements and photos.
Work through these measurements in order so the fabricator gets numbers they can cut to.
| Step | What to do | Why it matters |
|---|---|---|
| Establish a baseline | Pick longest straight edge and measure from it | Gives every other reading a reference |
| Mark post centers | Use stakes or chalk before anything else | Kits are cut to centerline dimensions |
| Measure center to center | Record longest and shortest span per side | Edge-to-edge readings miss out-of-parallel runs |
| Triangulate corners | Measure both diagonals | Matching diagonals mean square; mismatch means trapezoid or rhombus |
| Record corner angles | Use a digital angle finder where possible | Checks the triangulated dimensions |
| Capture elevation change | String line or laser level at each corner | Slope affects post length and footing depth |
| Note obstructions | Downspouts, sills, gates, branches, utility boxes | Roof and beams must clear them |
| Photograph every corner | Tape visible, plus wide shots each direction | Backs up the field notes |
Shapes That Custom Pergola Kits Can Handle
Suppliers market kits for irregular footprints and shapes directly, including L-shaped, triangular, hexagonal, and circular designs. Zen Pergolas’ irregular shaped pergola kit configurations lists those shapes among the configurations its bracket kits support. In practice, that means an awkward corner is often a bracket question, not a “can’t be done” question.
Shapes that custom kits are commonly built to accommodate:
- L-shaped: wraps a house corner or defines two seating zones
- Triangular: fits a wedge between a fence and a wall
- Hexagonal and circular: freestanding focal points over a fire pit or hot tub
If your space is genuinely tight, our guide to custom pergola kits for small yards covers fit and cost in more detail.
Custom Pergola Kits With Roof Options for Tight Spaces
Roof style is the most underrated fit decision.
Some kit systems are sold as adaptable to custom dimensions rather than fixed catalog footprints.
On a single-slope roof, the low side determines your usable headroom, so measure the clearance at the lowest post.
Rafter spacing and purlin direction also affect how the roof looks from below. Ask for the spacing before you order, because it’s baked into the cut list.
Pergola Kits Attached to House Walls: What Changes
An attached pergola kit trades two posts for a ledger board bolted to the house, changing both the hardware and the load path. The wall carries half the structure, so the connection has to be right.
That connection is a structural angle bracket, not a decorative one. The 7″ structural angle bracket is the piece that secures the ledger to the framing and takes the load off the fasteners alone.
Three things change when you attach:
- You need to find framing, not just siding. Lag into studs or blocking, never into sheathing alone.
- Flashing matters more than the bracket. Water behind a ledger is how pergolas rot houses.
- Height gets fixed by the house. The ledger height sets your beam line; the outer posts follow it.
Local building departments often treat attached structures differently from freestanding ones. Check with your own department before you drill, since requirements vary by location.
Custom Pergola Kit Cost: What Drives the Price
Custom pergola kit pricing depends on quantity, dates, and delivery, and it is quoted against each project’s cut list.
Pergola World’s guide to custom kits for small yards frames a custom kit as cut to exact dimensions rather than a fixed catalog size, and that’s the right way to think about the quote. You’re paying for cut accuracy and hardware count.
What moves the number most:
For a detailed breakdown of what drives the number, read the factors behind Douglas Fir pergola kit pricing. We don’t publish fixed prices because every odd-dimension kit is quoted against its own cut list.
How to Order and Verify a Custom Kit Before It Ships
Ordering a custom kit comes down to one habit: verify the fabrication drawing and cut list against your own field measurements before you approve them. A fabricator will build exactly what the drawing says, including your mistakes, and once timbers are cut to an odd dimension they are not returnable in the usual sense.
Reading the Fabrication Drawing
A fabrication drawing is not a sales rendering. It should show post centerlines, beam and rafter spans, connection locations, and the cut list with piece marks. Check these against your field notes:
- Post-center dimensions match your field measurements, span by span
- Both diagonals appear on the drawing and match your recorded diagonals
- The shape is labeled correctly (rectangle, trapezoid, L, polygon) and the corner angles match your triangulation
Ask the fabricator to confirm the tolerances they cut to before you approve, since tolerance affects whether a post lands on its footing.
Watch out: if the drawing and your field measurements disagree, do not approve the drawing on the assumption that the fabricator “must have corrected something.” Ask which number is being used and why, in writing, before fabrication starts.
Verifying the Cut List and Hardware
The cut list is the piece-by-piece inventory the shop will actually build from. Compare it to the drawing and to your plan:
- Piece count should match the number of posts, beams, rafters, and purlins shown on the drawing.
- Lengths should reconcile with the spans plus any overhang or tenon allowance the design calls for.
- Angles on any mitered or angled cut should match the corner angles on the drawing.
If you’re hiring a contractor, hand them the drawing and hardware list at quote stage. Pre-cut pieces usually shorten the labor estimate, but the contractor needs the drawing to price footing work and the attachment, the parts most likely to change on an odd site.
Before you commit, compare the supplier’s terms on lead time, freight damage, and re-cut policy. Our breakdown of whether a Pergola Kits USA alternative is worth it covers what to check in those terms, and the same questions apply to any custom fabricator.
Get a Free Estimate for Your Odd-Space Pergola
Odd dimensions don’t disqualify your yard. They just mean the kit has to be cut to your numbers instead of a catalog page.
At Pergola World, we offer custom-cut cedar and Douglas fir kits with optional pre-cut profile ends and pre-stained lumber for a faster, more efficient building experience.
Send us your sketch, your post-center dimensions, and a photo of the awkward corner.
Frequently Asked Questions
Can I get a custom-size pergola made for an irregular space?
Yes. Many suppliers now market custom pergola kits that are cut to exact dimensions rather than fixed catalog sizes. Pergola World specializes in custom-cut cedar and Douglas fir, so the length, width, and post layout are built around your measurements instead of forcing your patio to fit a standard 10 x 10 or 12 x 12 footprint. The key is measuring carefully and confirming post placement before you order.
Is it cheaper to build your own pergola or buy a custom kit?
Custom pergola kit pricing depends on quantity, dates, and delivery. Request a free estimate from Pergola World for current pricing.
How do I measure an irregular space for a pergola kit?
Sketch the footprint on graph paper, then measure every side and both diagonals of the space. For L-shaped or angled areas, measure each leg separately and note the angle where they meet. Record post locations, not just the outer edges, since posts drive the structure. Take each measurement twice and photograph the space with the tape in place so the kit supplier can verify your numbers.
Can pergola kits be made for angled or trapezoid-shaped areas?
Yes. Share a dimensioned sketch with Pergola World so the team can confirm the brackets and framing will work before cutting lumber.

