

Last Updated: October 23, 2026
Quick Summary
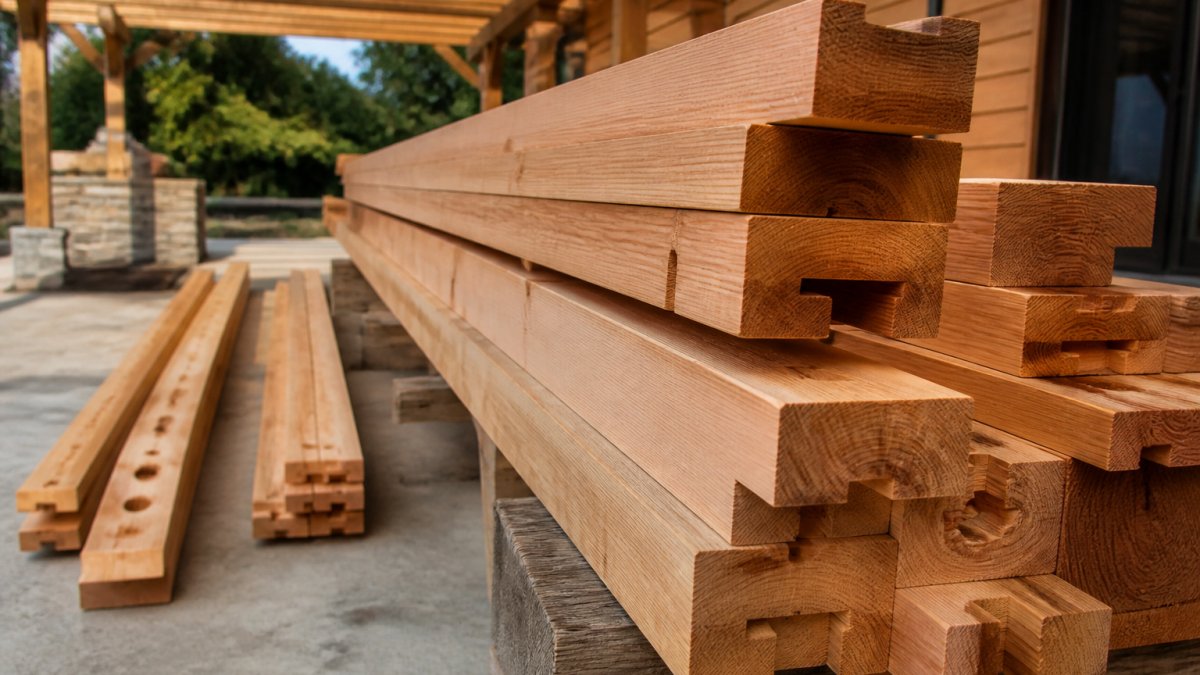
Pre-cut pergola profiles are beams, rafters, and posts cut to their final length and end shape at the shop, so the measuring and cutting happen before the lumber reaches your yard. This removes the most error-prone step of the build, cutting down on waste and mistakes so a planned structure goes up in a weekend instead of a month.
- Pre-cut components are nested on the stock before cutting, so the material you pay for ends up in the structure.
- Measure the true footprint at both ends, since a half-inch difference across a 12-foot run is normal.
- Cedar carries natural oils that resist moisture and insects without the chemical treatment pressure-treated pine requires.
- Seal every end grain, especially post feet near soil or pavers, to prevent rot.
- Common residential rafter layouts use 16-inch or 24-inch on-center spacing, which the design should lock in before cutting.
Table of Contents
- Why Pre-Cut Pergola Profiles Change the Build
- Pre-Cut Pergola Lumber: Less Measuring, Less Waste
- Custom-Cut Pergola Beams That Fit Odd Yards
- Cedar Pergola Profiles: Performance You Can See
- Pergola Rot Prevention Starts at the Cut
- Pre-Cut Profiles vs. Cutting Materials On Site
- Hardware, Dimensions, and Connection Details
- Conclusion
- Frequently Asked Questions
Why Pre-Cut Pergola Profiles Change the Build
Most pergola projects don’t fail at the design stage. They fail at the saw. At Pergola World, we cut cedar and Douglas fir components to the dimensions of a specific design, which removes the most error-prone step in the whole build.
The payoff is simple: fewer measurements, fewer mistakes, and a structure that goes up in a weekend instead of a month.
What Counts as a Pre-Cut Profile
A pre-cut profile is any structural member cut to length and end-shaped at the shop rather than on site. That includes rafters notched for a beam, posts cut to matching height, and decorative end profiles shaped on a jig. A kit with “pre-cut components” delivers the same benefit at the project level: the lumber arrives sized for a defined footprint.
The distinction matters because “pre-cut” is doing real work in that phrase. It’s not marketing shorthand for “we sold you lumber.” It means the measuring and the cutting already happened.
Pre-Cut Pergola Lumber: Less Measuring, Less Waste
Every cut you make on site is a chance to be off by a quarter inch. Do that eight times across a run of rafters, and your spacing drifts.
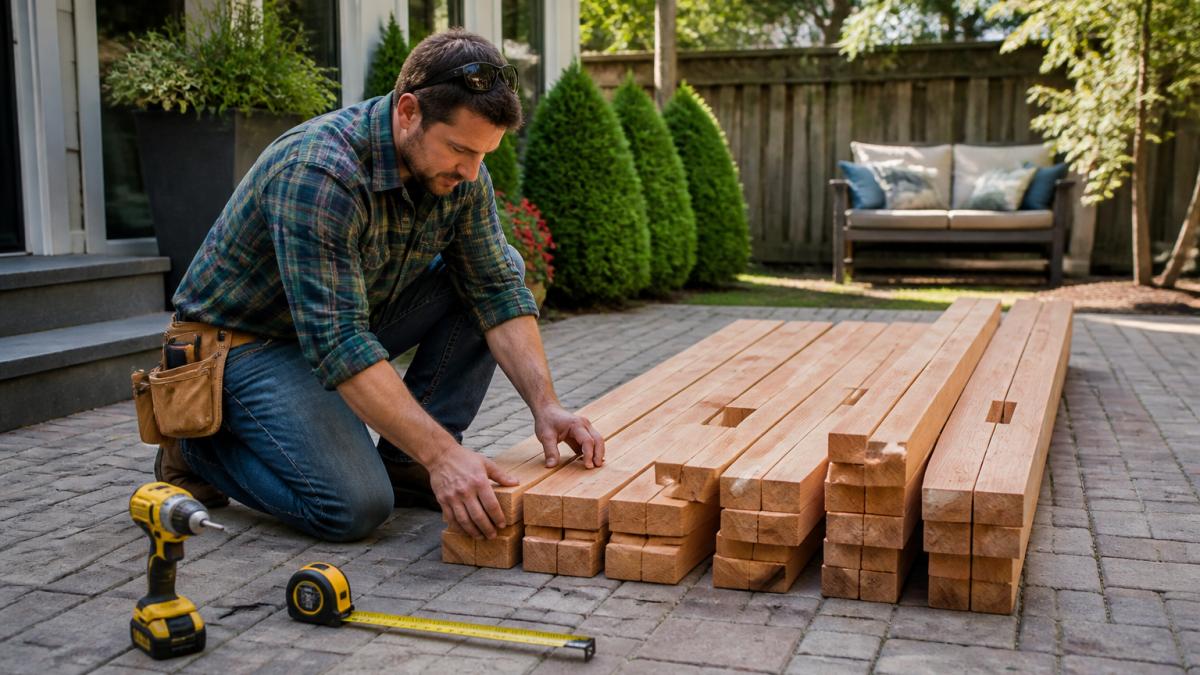
Waste is the quieter benefit. When you buy dimensional lumber and cut it down, offcuts pile up and some boards get ruined by a bad measurement.
Lay out every pre-cut component and count it against the packing list before you lift a single beam. Catching a short shipment on day one is a phone call; catching it mid-build is a stalled project.
Custom-Cut Pergola Beams That Fit Odd Yards
A rectangular kit on an L-shaped patio leaves gaps and awkward overhangs.
The awkward-corner problem is the one we hear about most. Homeowners worry that a kit will force them to modify everything on site, which defeats the purpose of buying pre-cut in the first place.
What most guides miss is that fitment is a design problem, not a cutting problem. If you’re solving it with a saw, you’ve already lost the advantage.
How Odd-Footprint Fitment Actually Works
Custom cutting handles irregular spaces through a short, repeatable sequence rather than improvisation on site:
- Measure the true footprint, not the nominal one. Record the clear span between the house wall and the outer post line, then repeat at both ends. Patios are rarely square, and a half-inch difference across a 12-foot run is normal. Those two numbers, not one, drive the cut list.
- Set post locations from the structure, not the slab edge. Posts positioned off a paver edge inherit every wobble in that edge. Positioning them off the intended beam line keeps the frame square even when the patio is not.
- Resolve the corner in the drawing. For an L-shaped layout, the design specifies which beam runs continuous through the corner and which one butts into it. That decision is made on paper, so the shop cuts the correct member to the correct length with the correct end treatment.
- Allow a small field tolerance at the connections. Pre-cut members are cut to the design dimension, and the connectors are specified to absorb normal site variation. The goal is a frame that assembles without forcing, not a zero-gap interference fit.
What Custom Cutting Can and Cannot Fix
Custom-cut profiles are sized to a measured footprint, which means they solve length, end shape, and member count. They do not bend.
A common pattern among builders is to treat the measurement visit as the highest-value hour of the project. Every dimension captured there is a cut the shop makes once, and every dimension guessed there is a cut someone makes twice.
Photograph each corner and each post location with a tape measure visible in the frame. Those photos resolve most “is this the right dimension?” questions before the order is cut, and they give the shop a reference if a part needs to be remade.
Cedar Pergola Profiles: Performance You Can See
Cedar pergola profiles earn their reputation through what the wood does after installation, not before.
Douglas fir is the other option worth knowing. It’s denser and stronger than cedar, which suits longer spans and heavier loads, and it takes a stain beautifully. The trade-off is that fir needs more protection from moisture than cedar does on its own.
Both species accept pre-staining at the shop, which means the finish goes on in controlled conditions rather than in your driveway on a windy Saturday.
Pergola Rot Prevention Starts at the Cut
Rot almost always starts at an exposed end grain or a joint that traps water. Pergola rot prevention is therefore a cutting and detailing problem before it’s a maintenance problem, and pre-cut profiles give you a head start because the end cuts are clean, square, and sealed before shipping.
Three habits do most of the work:
- Seal every end grain, especially post feet near soil or pavers
- Keep post bases above standing water with metal hardware, not wood-to-concrete contact
- Re-coat horizontal surfaces on a schedule, since they shed water slowest
Hardware matters as much as lumber here. Stainless or hot-dip galvanized connectors from established manufacturers resist corrosion far better than economy brackets, and a rusted hanger fails long before the beam it holds does.
Setting a post directly into soil or burying a cut end in concrete creates a moisture trap that no finish can rescue. Use a raised post base and keep the wood clear of standing water.
Pre-Cut Profiles vs. Cutting Materials On Site
The honest comparison comes down to time, waste, and risk. Cutting on site gives you total flexibility and no lead time, but it puts every dimension in the hands of whoever holds the saw. Pre-cut shifts that risk to the shop.
| Factor | Pre-Cut Profiles | Cutting On Site |
|---|---|---|
| Measuring and layout | Done from shop drawings | Done by hand, board by board |
| Material waste | Nested before cutting | Offcuts and miscuts add up |
| Skill required | Basic assembly | Confident with a saw and square |
| Lead time | Longer, since parts are cut to order | Immediate |
| Design changes mid-build | Harder to accommodate | Easy to adjust |
| Best for | Repeatable, planned builds | One-off or improvised structures |
Neither option is universally better. If you’re building a single structure with a fixed design, pre-cut wins on consistency. If you’re experimenting or working around a feature you can’t measure until the frame is up, on-site cutting keeps you flexible.
Hardware, Dimensions, and Connection Details
Connection details decide whether a pergola stays square for a decade or racks loose after two seasons. Pre-cut profiles only deliver their advantage when the hardware matches the dimensions exactly, because a joint cut for one connector won’t accept another without modification.
What matters most is that the kit’s dimensions, the beam sizes, and the connector series are specified together. A beam cut for a concealed hanger needs the post notched to match, and both need to align with the rafter spacing you planned.
At Pergola World, we stock hardware from Simpson Strong-Tie and OZCO and cut components to the same drawings, so the fitment is settled before the lumber ships.
The Three Dimensions That Must Agree
Most fitment problems trace back to one of three numbers being set independently:
- Member size. A 2×6 rafter and a 2×8 rafter need different hangers and different notch depths. The cut list has to state the actual dressed size, not just “rafter.”
- On-center spacing. Rafter spacing drives the number of hangers, the beam loading, and the fastener pattern. Common residential layouts use 16-inch or 24-inch on-center spacing; the design should lock one in before cutting so the beam is drilled or marked for the right count.
- Post-to-beam interface. A post cap, a notched post, or a concealed beam hanger each require a different post top. Cutting the post to height before the connection type is chosen is one of the most common ordering mistakes.
Connection Types Worth Knowing
- Post bases. A raised base anchors the post to concrete or pavers while holding the wood above standing water. This is the detail that most affects long-term rot resistance at the bottom of the post.
- Post caps and beam hangers. These carry the beam-to-post load. Hot-dip galvanized or stainless hardware is the standard choice for exterior use because it resists corrosion far better than economy coatings.
- Rafter hangers or ties. These fix rafter spacing and resist uplift. The hanger must match the rafter width and the beam face it attaches to.
- Diagonal bracing. Knee braces or diagonal straps keep the frame from racking. Their length and end cuts are part of the pre-cut profile, which is why they should be on the same drawing as the rafters.
Tolerances and Field Adjustment
Pre-cut does not mean zero tolerance. Wood moves with moisture, and connectors have manufacturing tolerances of their own.
A useful rule of thumb from experienced installers: if a pre-cut member needs more than light persuasion to seat, stop and check the drawing rather than the wood. The cut is usually right; the sequence or the connector is usually what’s off.
The single biggest determinant of build speed isn’t the wood or the tools. It’s whether the dimensions, the cuts, and the connectors were specified together.
Conclusion
The hard part of a pergola build was never the assembly. It was the measuring, the cutting, and the slow accumulation of small errors that turn a weekend project into a month-long one.
If you’re planning a build, Pergola World cuts cedar and Douglas fir to your design, offers pre-stained lumber and pre-cut profile ends, and supplies matched hardware from Simpson Strong-Tie and OZCO.
Get a free estimate from Pergola World and start with dimensions that already fit.
Frequently Asked Questions
What are the benefits of pre-cut pergola profiles?
Pre-cut pergola profiles arrive cut to length and shaped at the ends, so you spend less time measuring and sawing on site. That shortens assembly, reduces material waste, and produces tighter, more consistent joints. Because the cuts are made in a controlled shop setting, ends are cleaner and easier to seal, which supports pergola rot prevention. Pre-cut components also make it simpler to check fitment before assembly and to plan hardware placement around known dimensions.
Do pre-cut pergola profiles make a pergola faster to build?
They usually do, because the measuring and cutting steps are already done. Most of the remaining work is layout, leveling posts, and fastening connections. Speed still depends on your foundation, how level the site is, and whether you are working alone or with help. If you are comparing options, ask for a cut list and assembly instructions up front so you can see exactly what arrives pre-cut and what still needs on-site adjustment.
What should I check before ordering pre-cut pergola lumber?
Confirm the footprint dimensions, post spacing, and rafter span you need, then match them to the kit’s cut list. Check the lumber species and grade, whether ends are pre-shaped, and which hardware is included. Ask how the kit handles odd corners or slopes, and review the shipping and packaging details so you can inspect for damage on delivery. Get current pricing and lead times directly from the supplier, since cost depends on size, material, and freight.
How do you protect pergola profiles from rot and rust?
Start with a rot-resistant species such as cedar, keep wood ends sealed after any field cut, and set posts so water drains away rather than pooling at the base. Use galvanized or stainless connectors rated for exterior use so hardware does not rust through. Inspect joints and post bases annually, clear debris from the top, and reapply a stain or sealer on the schedule the finish maker recommends. These steps extend service life for both DIY and contractor-built structures.

